Targeting Offshore Kingfish with Livebaits: A How-to Guide.
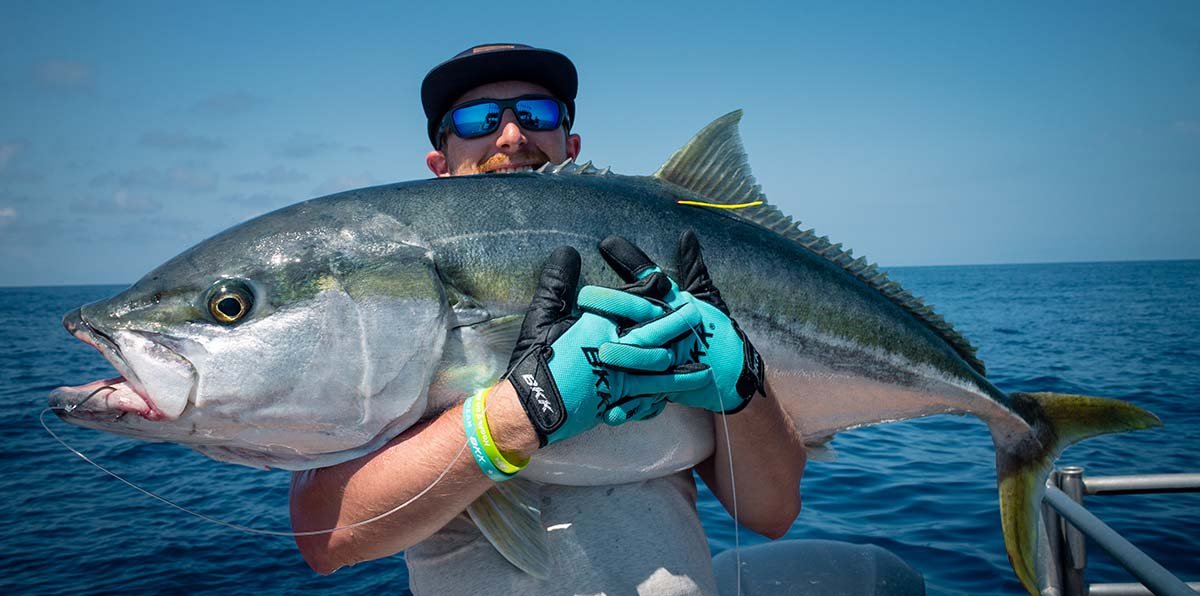
Live baiting is well regarded as one of the most effective methods for targeting big kingfish in offshore environments. You don’t need a special rod or reel, as both a stickbait spin setup or an overhead jigging setup will work fine. The bait is free, and the rigging is easy. The biggest effort is catching the live baits; but the payoff is well worth it.
In our experience, we catch more fish of a larger size while live baiting compared to jigging or other common methods. It's usually so effective that it does feel a bit like cheating, but if you’re simply chasing the thrill of the catch and looking to test yourself against some mega reef dwellers, live baiting is the way to go.
What You’ll Need
We won’t go too in-depth here because it’s a whole topic in itself, but here’s what you’ll need to get started:
ROD + REEL
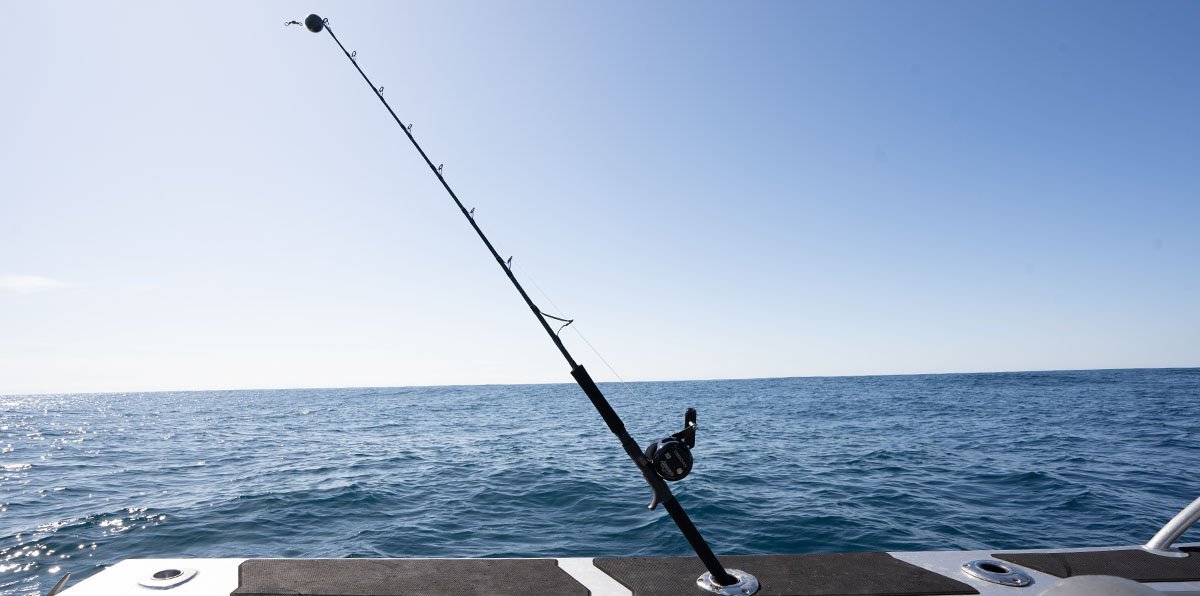
An overhead jigging combo is probably the best choice, but a spin setup works perfectly fine most of the time. An overhead reel allows you to thumb the spool to control the depth (important for reasons we will touch upon later), and a lever drag allows proper control of the drag which is important for setting the hook. Make sure you’re using a combo with the line weight & capacity that can handle the fish and depth you’ll be targeting.
HOOKS
This is where we will go into detail because we are a hook brand after all.
You’ll actually need two types of hooks for this. One to catch the bait, and a live baiting specific hook for the target fish.
For catching the baits: A small sabiki rig, micro-jig, or tiny baited hooks are ideal for catching the baitfish. You can use a light rod/reel setup for this, or a handline will also work. We typically use a few BKK ISEAMA-R rigged with a tiny bit of bait.
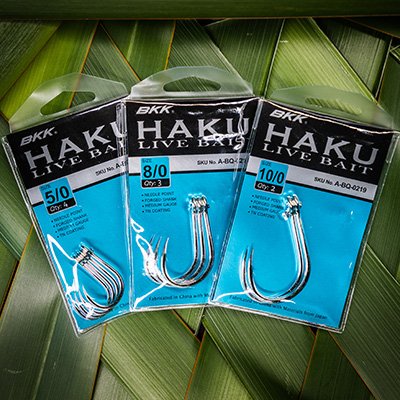
For catching the target fish: A hook designed for live baiting. The BKK HAKU Livebait was designed for this exact style of fishing in New Zealand waters. You could also use the BKK Monster Circle, or Inline Heavy Circle.
We’re here for big offshore Kingfish, so the HAKU Livebait in size 8/0 or 10/0 is what we will be using.
OTHER RIGGING ACCESSORIES
• Rigging needle (for Bridle Rigging)
• Waxed Thread (for Bridle Rigging)
• Ball Sinkers
• Swivels & Clips of appropriate size.
2. The Rig
There are a few different arrangements of rigs you can use. The arrangement below is what we use as it provides a few benefits:
Benefit 1: Positioning the running sinker above the swivel means that if there is a failure within any part of the rig, the hooked fish is not left with a sinker hanging off it’s face.
Benefit 2: The swivel will stop the line from twisting up as the baitfish swims around below.
Benefit 3: Fewer knots = faster and more reliable rigging.
Remember, this solution is just one of many. As long as your bait gets to the depth it needs to be, and is presented in a way that the target fish can get a good clean bite, you should be golden.
3. Catching Baits
As we’re targeting big offshore Kingfish here it makes sense to catch the kind of baitfish that Kingfish naturally eat.
The three key species we tend to use are:
Jack Mackerel
Blue Koheru
Kahawai
You could also use piper or mullet. To be honest, pretty much anything will work!
These fish are readily available around inshore structure/reefs and will happily take a sabiki, microjig or baited hook. You can fill your livebait tank in 10-15min if you know where to go, so it helps to have rough plan on where to look before you leave the ramp. Throwing some small chunks of bait overboard will help to bring these fish in close so you can snatch them up with your chosen method.
If you’re fishing around an offshore island, you can shoot in close to grab a few more baits if you run low. Bait fish like to hang out in these areas as they provide good shelter from predators.
Size-wise, almost anything will be effective. You would be surprised how big a kahawai can get before a Kingfish won’t eat it. A big Kingfish will still chomp down a small baitfish, but only the bigger Kingfish will have a shot at a large baitfish, so if you only want the bigger fish, use the bigger bait.
Naturally, this also means you may catch less over the course of the day, but the fish you do catch will be bigger on average.
You will need a live bait tank for this style of fishing. These are built into many boats designed for offshore fishing, but if you’re just starting out or don’t have a kitted-out boat, you can pick up a portable tank reasonably cheaply. You want your baits to be happy & healthy so they’re full of energy & more appealing to your target fish.
4. Rigging the live baits
So you’ve got your rigs ready, and your live bait tank is humming with baitfish. The next step is to get one of those slippery little fellas and attach him to the hook.
Again, there are a few ways to achieve this, but here we will show you the two most common methods.
Method 1: Bridle Rigging
We typically use this method if we’re running low on baits, as it holds the baitfish more securely. It’s also effective for a larger hook on smaller baits. Please avoid using rubber bands for this method, as they just end up in the ocean. We recommend waxed thread or twine which is a bit better for the environment!
The key to this method is threading the loop of thread through the eye socket of the bait. You can then loop one side of this over the hook point, twist a few times, lock it off by poking the hook point through the opposite direction, then repeat this process with the other side of the thread coming out the other side of the bait.
Pros: Holds baitfish securely, can be less traumatic for the fish if done correctly, and allows a much larger hook on smaller baitfish, hook is able to move more freely.
Cons: Requires extra materials (waxed thread + rigging needle), takes longer to rig, can be harmful to the baitfish if done incorrectly.
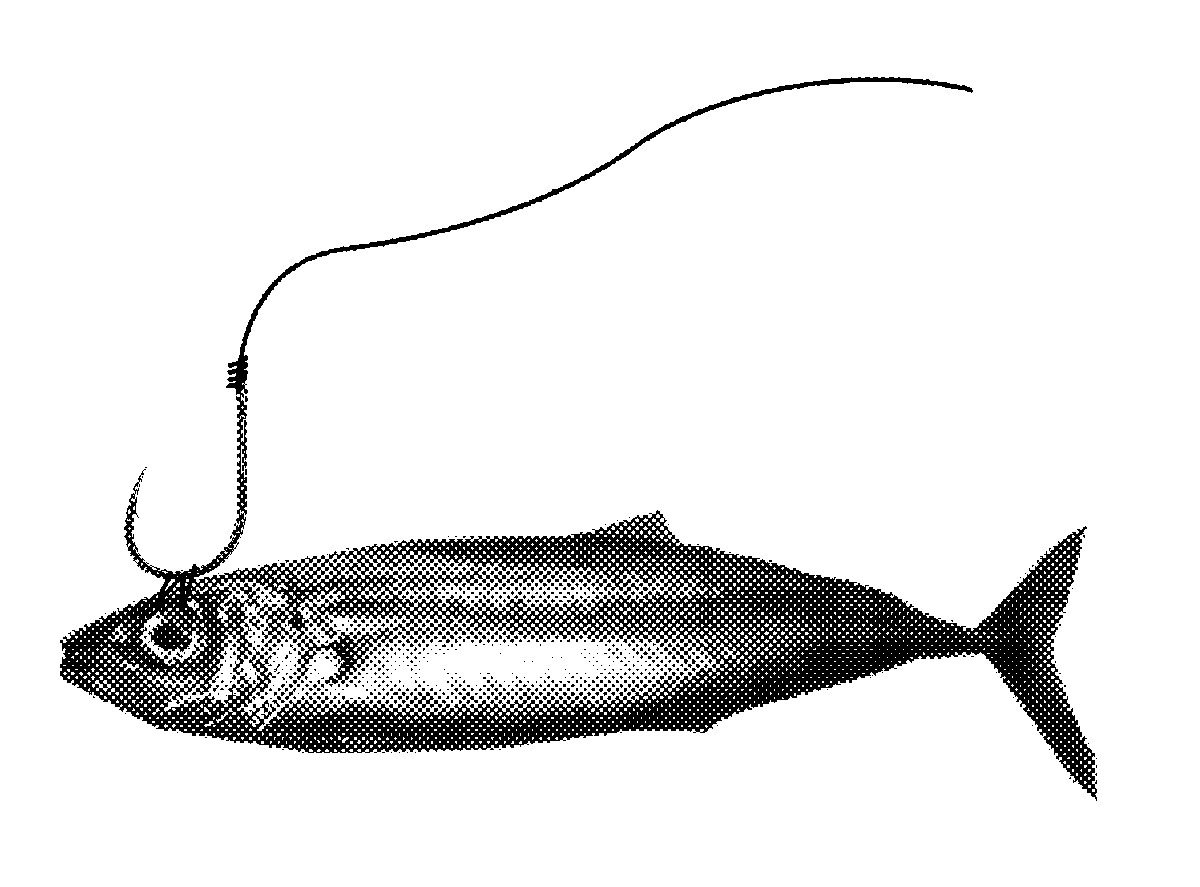
Method 2: Nose Hooking
This method is perfect for quickly rigging the bait. Simply slide your hook through the nose holes of the baitfish and you’re ready to go.
Pros: Very fast and easy, hook sits at good angle for solid hookup on target fish, requires bare minimum of materials.
Cons: Limited hook size to match bait size, less secure than bridle rigging.
5. Finding the Fish
We’re talking offshore Kingfish here, so offshore structure and reefs are the place to look. A good sounder is worth its weight in gold for spotting schools of Kingfish holding in the water column; as it allows you to drop your bait to the right depth immediately.
If you’re into jigging or top-water casting, you’ll probably know the areas where Kingfish like to hang out, so have a look around these areas when live baiting too.
Check the current and position yourself to drift over the back end of the structure - the fish will usually hold here and pick off any food that gets washed through in the current.
Pro tip: Use a good multi-colour braided line on your reel so you know exactly how deep your bait is when dropping - we use Thirty-Seven Nautilus Premium x12.
A good skipper will keep an eye on the sounder and advise the depth the angler should be dropping to. Eg; fish at 100m = 10 colours on the braid. This kind of accuracy will significantly increase your catch rates. The example below shows a school of kingfish harassing a bait ball off the back of an undersea mound.
6. The Strike Zone
Depending on which hook you’re using, the methods will be slightly different here.
If you’re using the HAKU or a ‘J’ style hook, let the fish run for a few seconds before applying the drag to ‘strike’, letting any slack become taught before giving it a firm lift to set the hook.
If you’re using a circle hook, do the same, but apply the drag lightly to let the hook roll into the mouth. No need to strike here.
That’s it, you’re on your own from here. With some luck, you’ll be hooked up to a new PB and you’ll be in for a hell of a fight trying to get it boat-side. But that’s exactly what you came for, so enjoy it!


